Use Parallel Compression to Achieve Punch & Fatness
This is a technique I've known about for quite some time, and have been using to varying degrees for the past five years, but have only recently fallen in love with. It's a great way to increase punch or loudness (depending on the technique used) of drum machine samples, vocals, bass, etc, but without sacrificing dynamics. The basic concept is that you duplicate a drum sound, for instance, and apply compression only to the duplicate track. You then mix the two tracks (effected and un-effected) to taste. There are two different compression settings which I like to use.
1. Slow Attack to Achieve Punch
Commonly when people use compressors on drum samples, they use a slow attack and fast release. They are not seeking to control the dynamics so much, but rather make a drum hit punchier. The slow attack allows for the initial transient, or punch, of the drum to remain uncompressed (the reason being that the attack sets the amount of time until the compressor engages). The compressor kicks in right after the transient, and in this case, the envelope of the drum is being reshaped after the transient, by the attack and release timing. At the given time, defined in ms by the attack and release, the compressor works to reduce the volume of the sound when it exceeds a certain threshold. Make up gain is then often used to compensate for this volume loss. The result is (hopefully) a punchier sound, depending on the type of compressor used, and the color it imparts on the sound.
Unfortunately, this can come at the cost of making the drum machine sample sound smaller, weaker, and less bass-y. The purpose of parallel compression here is to overcome this sacrifice by taking the compressed, punchier but often smaller sound, and mixing it with the full, unaltered drum sound.
To do this, you can either use a send / return effect, or create a duplicate track. I will explain the latter, but the general concept is the same.
1. duplicate a linndrum sample, for instance,in your DAW.
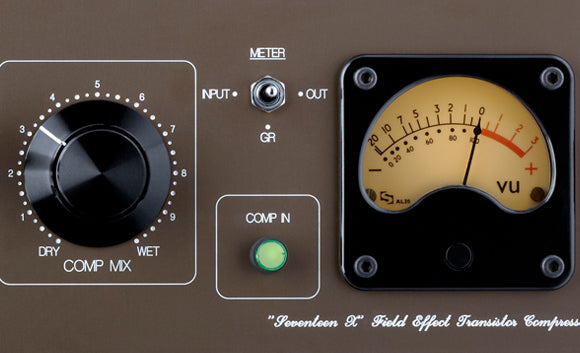
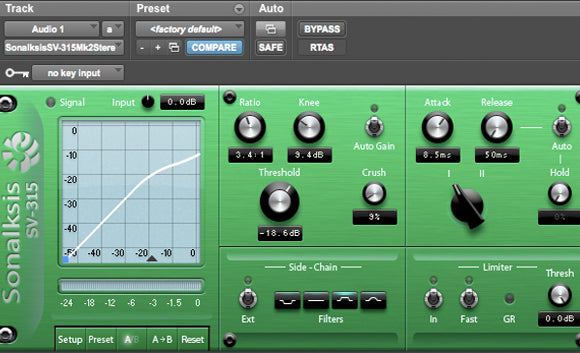
2. Leaving the original track alone, insert your favorite compressor on the duplicate track. Recommended ITB: Sonalksis SV-315 MK2, UA 1176, Waves SSL channel.
3. Manipulate the compressor - use a slow attack, fast release, and a threshold & ratio so that you are getting anywhere from - 6 to - 18 dB gain reduction. Hopefully you are creating an extremely punchy, mid-range sound here.
4. Do not worry about make-up gain, as this adds noise, and you will not need to raise the volume of the track, as you will be mixing it at a low volume with the original anyways.
5. If your DAW has latency compensation you can skip this step. if it does not, your two tracks may be a couple milliseconds off in timing, and this will introduce unwanted phasing. In this case, put the same plugin on the original track. Do not bypass it, but instead make sure that the settings are such that they do not engage any compression.
6. Mix the two tracks to taste. The louder the compressed track, the punchier the linn sample will sound, but keep in mind this will create a much spikier transient and offset the bass / weight of your original drum sample. Usually I find myself bringing the compressed track in at roughly 1/3 the volume of the uncompressed track, but again this varies greatly from sample to sample. Use your ear!
7. The human ear always prefers a louder sound to a quieter sound. By adding an additional track, you are increasing the overall volume of the drum sound and this will always sound better. Therefore, to make sure that your parallel processing is better than just the original sound (always AB to the original sample!), make sure to compensate the volume of both tracks when comparing. Listen to the original track on its own. Now, decrease the level of both tracks so that together, they equal the same volume of the original track.
8. The end result works nicely for kick drums, bass drops and pretty much any drum samples. For club music this technique can allow the kick to punch through the midrange speakers, while still having a huge low end on the subwoofers.

2. Fast attack to increase volume and fatness
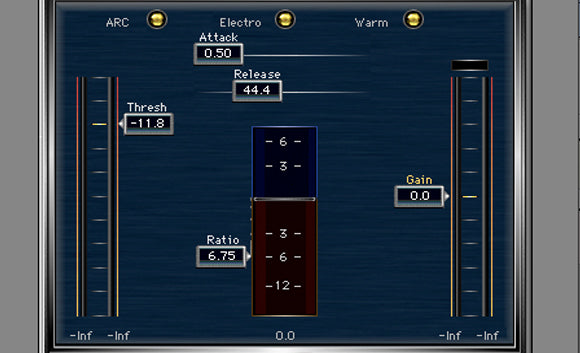
1. Repeat the above steps, but use the fastest attack setting possible on your compressor and adjust the release to taste. I really like the Waves R Compressor for this. What you are doing here is creating a duplicate, compressed track, with essentially no transient (the fast attack means the compressor is engaging immediately and reducing the transient by as many dB as you like). Depending on the release time, the body of the kick drum has remained in tact.
You can now layer this sound with the original, thereby increasing the thickness / body of the track, while not increasing the spike / transient of the sound. So, you are essentially able to layer the two sounds together without the sum of the two sounds increasing in volume as much as in slow attack parallel compression.
In modern music, especially dance music and hip hop, it's realistic to assume that a loud, great sounding mix is important to us, so that the mastering engineer can make a competitively loud master without making our track sound awful. It's true that some mixes are better able to withstand loud mastering than others - my earlier tracks would be absolutely devastated by the ME (mastering engineer), while other mixes on the same record would sound fine. And while this is generally a matter of getting your levels right, it is also important to be able to change perceived loudness without raising the volume meter. The fast attack parallel compression technique is great for that - try it on vocals, drum buss, individual drum machine samples and the master buss!
Next →
← Previous


